
🔑 API Key
To power your Aaia-WP assistant, you need a Gemini API key from Google. This guide walks you through obtaining your API key and configuring it in your WordPress plugin.
🎯 Why Gemini API?
Aaia-WP exclusively uses Google’s Gemini API for its advanced conversational capabilities. Gemini offers excellent performance with a generous free tier, making it perfect for most WordPress sites without additional costs.
Gemini 2.0 is a very cost-effective LLM, function ready, and with a very large context window : a perfect match for Aaia !
🆓 Getting Your API Key
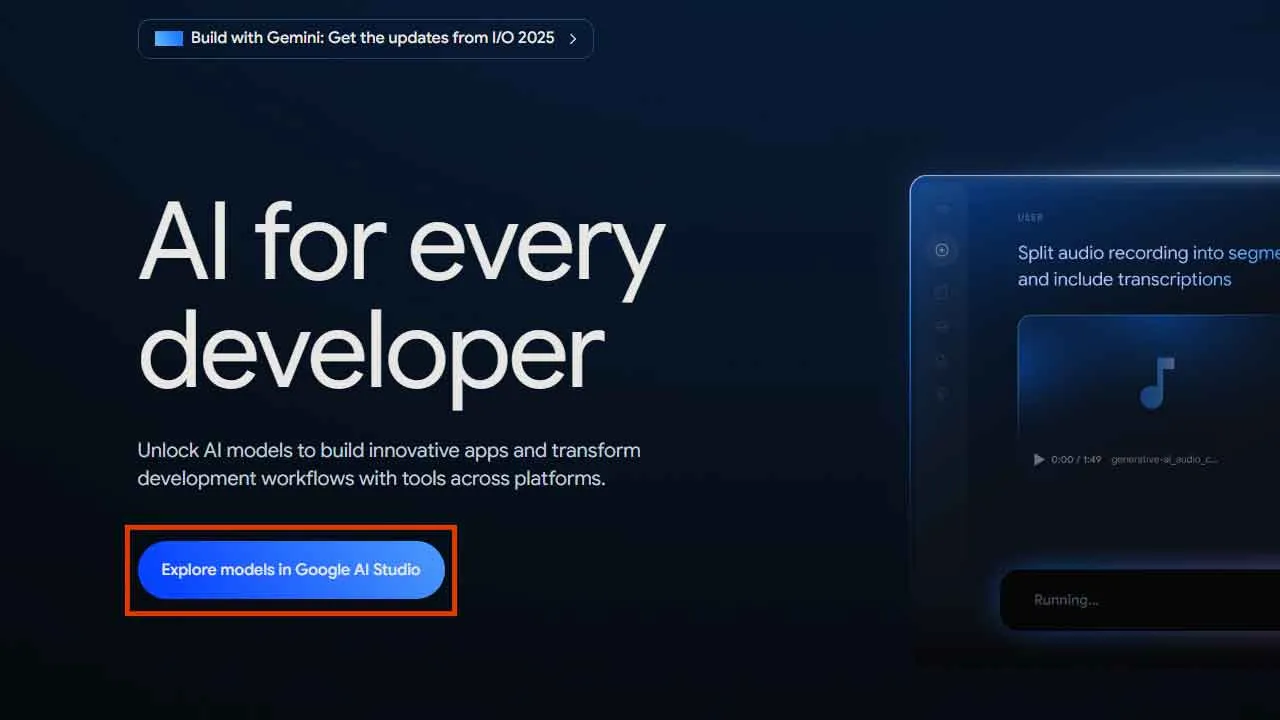
Accessing Google AI Studio
Visit Google AI Studio at ai.google.dev and sign in with your Google account. If you don’t have a Google account, you’ll need to create one first. Click “Explore models in AI Studio” to access the main dashboard.
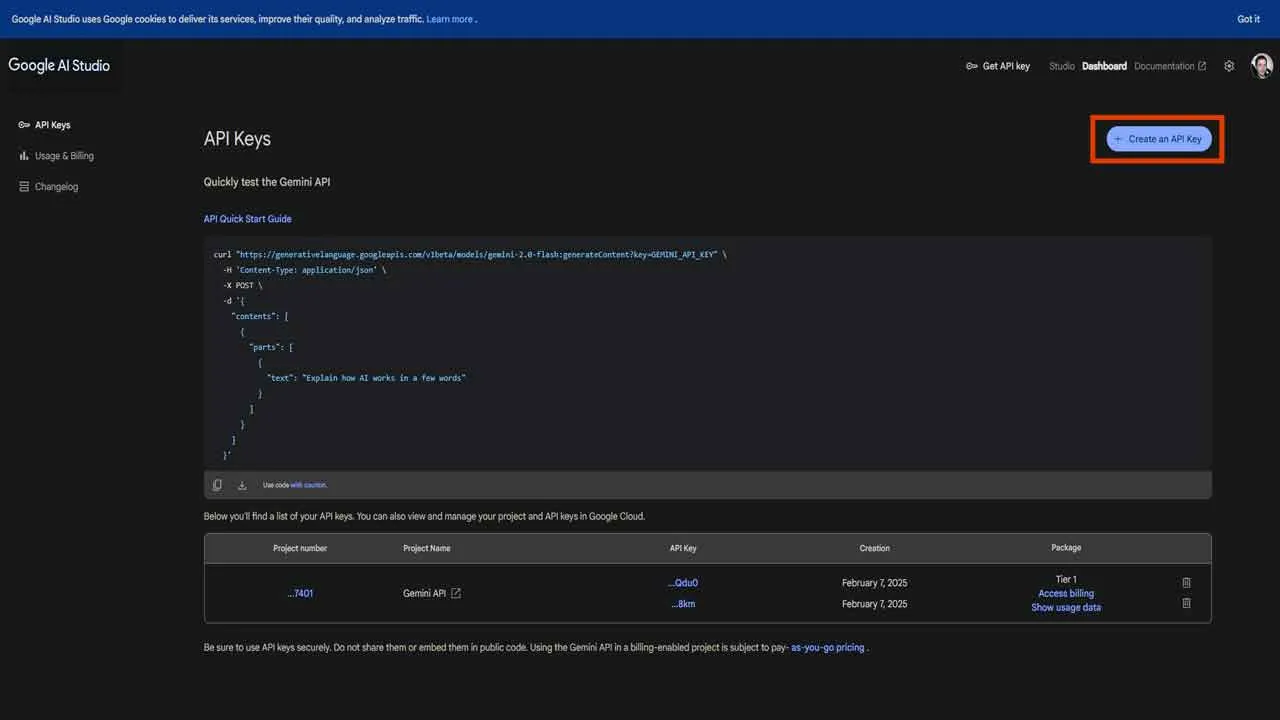
Creating Your API Key
In Google AI Studio, locate the “Get API key” button in the main interface. Click it to start the API key creation process.
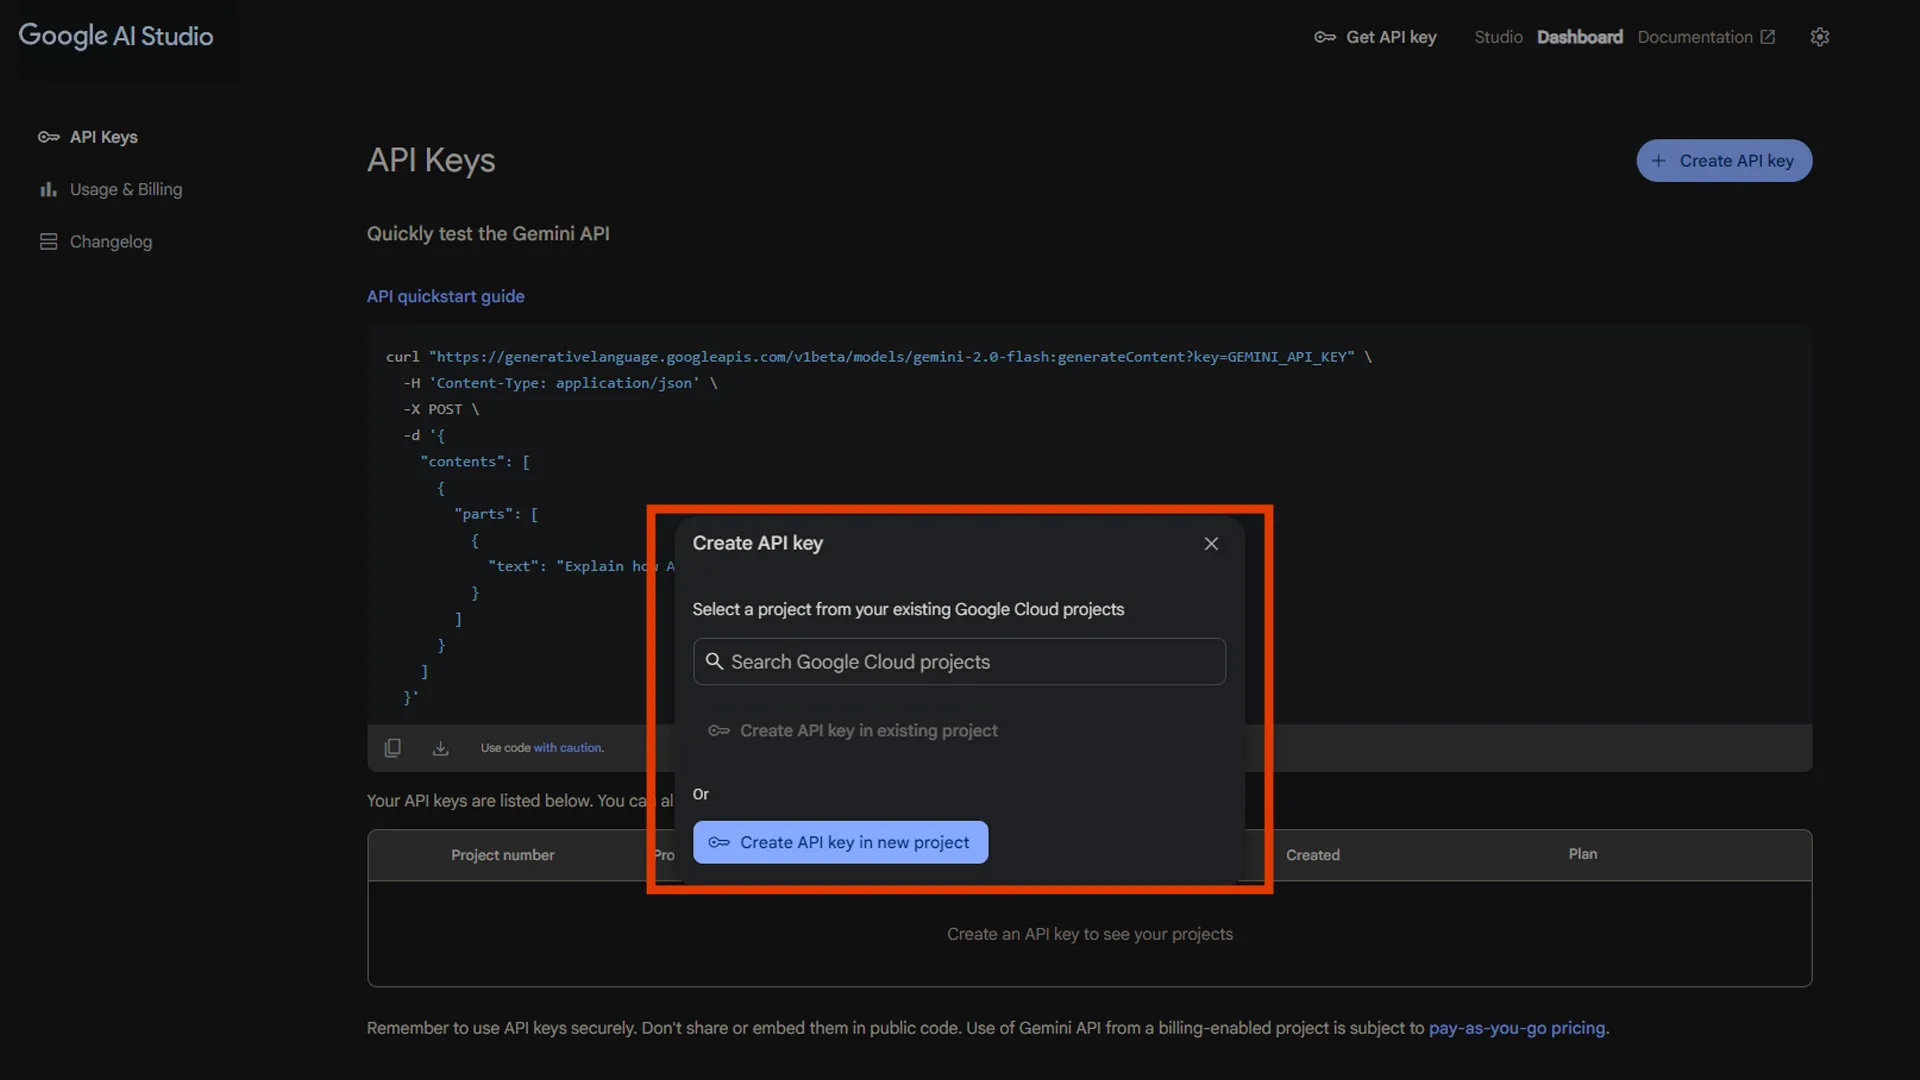
You’ll be prompted to choose between creating a key in a new project or an existing project. For most users, selecting “Create API key in new project” is the recommended option.
API Key Generation
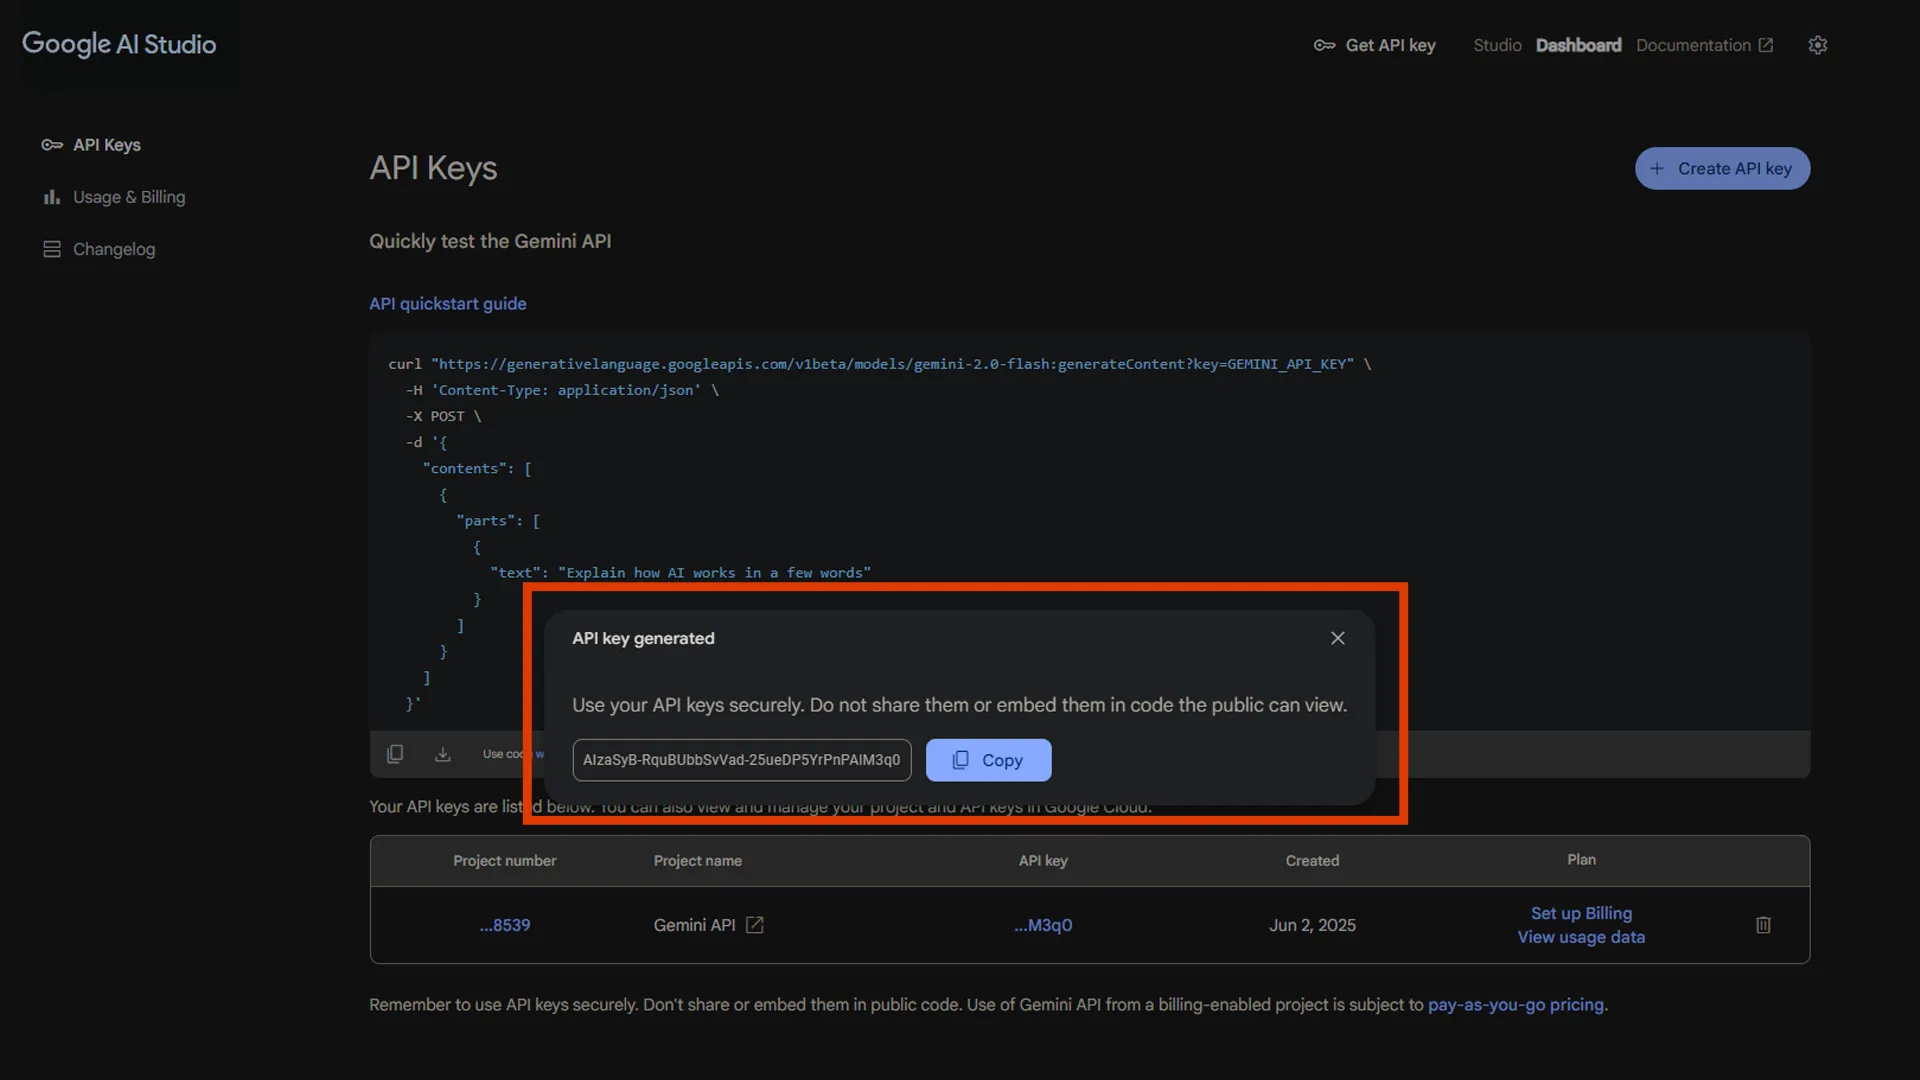
Google will automatically generate your API key within seconds. The key appears as a long string of characters starting with “AIza”. Copy this key immediately and store it securely, as Google AI Studio may not show it again for security reasons.
If you have to leave the free tier
As your Aaia-WP assistant becomes more popular and your website traffic grows, you might exceed Google’s generous free tier limits. When this happens, you’ll need to set up billing and migrate to Google Cloud Console for enhanced API management and higher quotas.
When to Consider Upgrading
You should consider upgrading to a paid plan when you consistently hit the free tier limits:
- More than 15 requests per minute to your AI assistant
- Exceeding 1,500 requests per day regularly
- Need for higher rate limits for business-critical applications
- Requirement for premium Gemini models like Gemini 1.5 Pro
Setting Up Google Cloud Billing
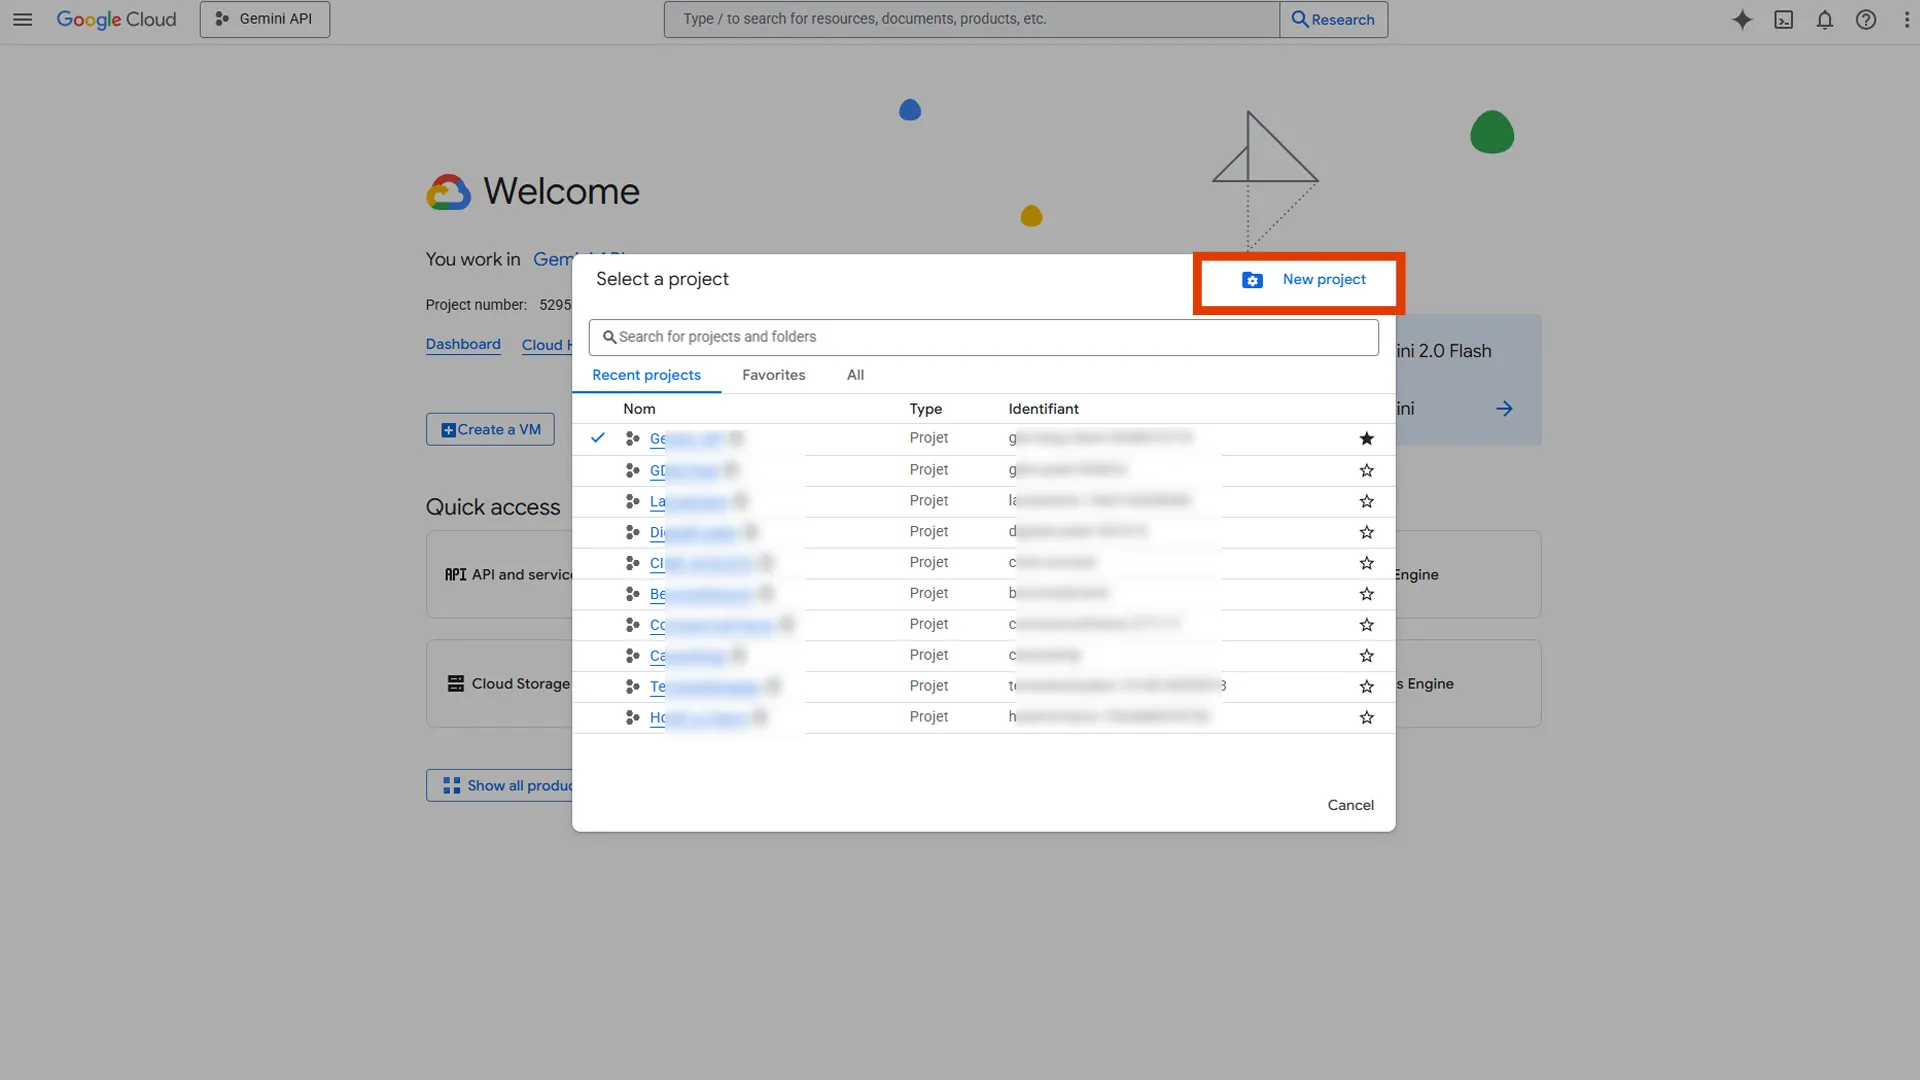
Creating a Google Cloud Project
Visit the Google Cloud Console and sign in with the same Google account used for AI Studio. If you don’t have a Google Cloud account, you’ll be prompted to create one.
Click “Create Project” and provide a meaningful name like “WordPress-Aaia-Assistant” or your website’s name. This helps you identify the project later when managing multiple services.
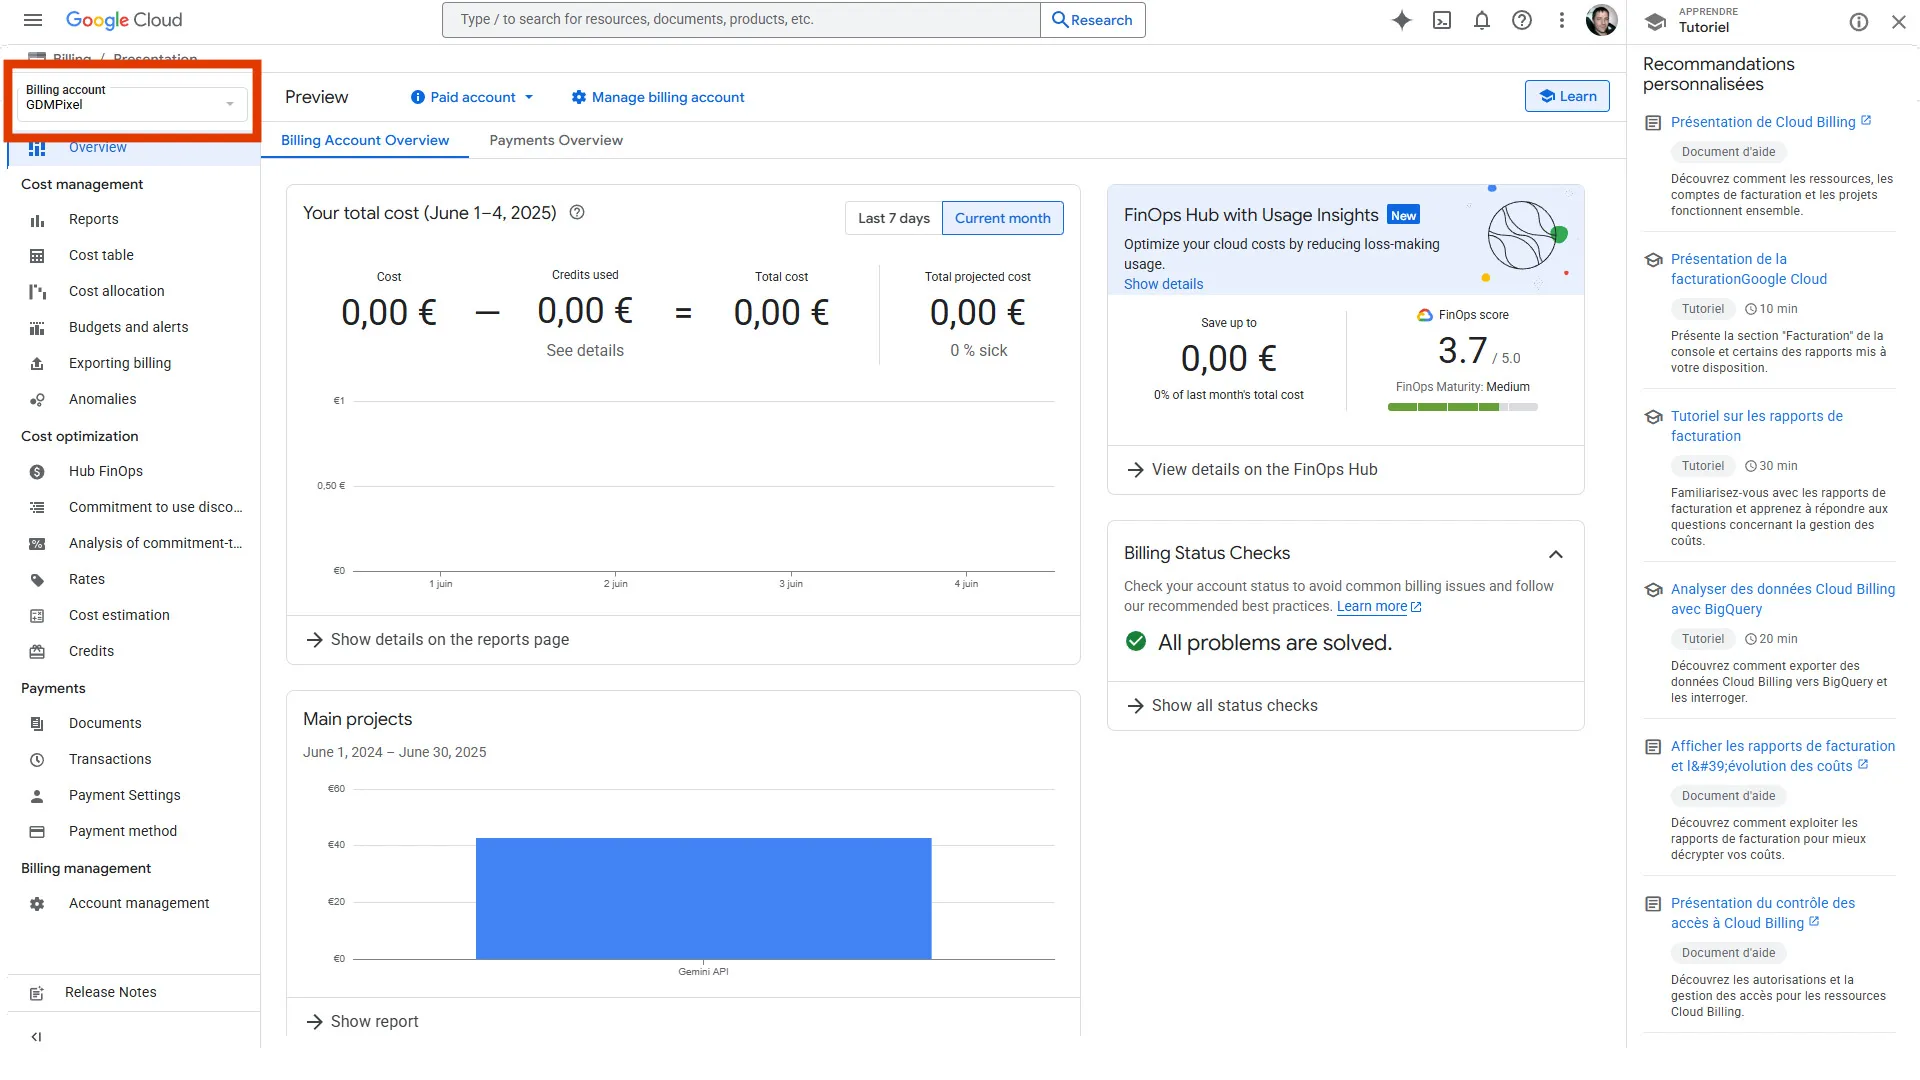
Enabling Billing Account
Navigate to “Billing” in the Google Cloud Console sidebar. Click “Create Billing Account” and follow the setup process.

You’ll need to provide:
- Payment method (credit card or bank account)
- Billing address and tax information
- Contact details for billing notifications
Google Cloud requires a valid payment method even for services within free tier limits, as a verification measure.
Linking Project to Billing
Once your billing account is active, link your project to the billing account. In your project dashboard, go to “Billing” and select your newly created billing account from the dropdown menu.
Migrating to Google Cloud Console API
Enabling the Generative AI API
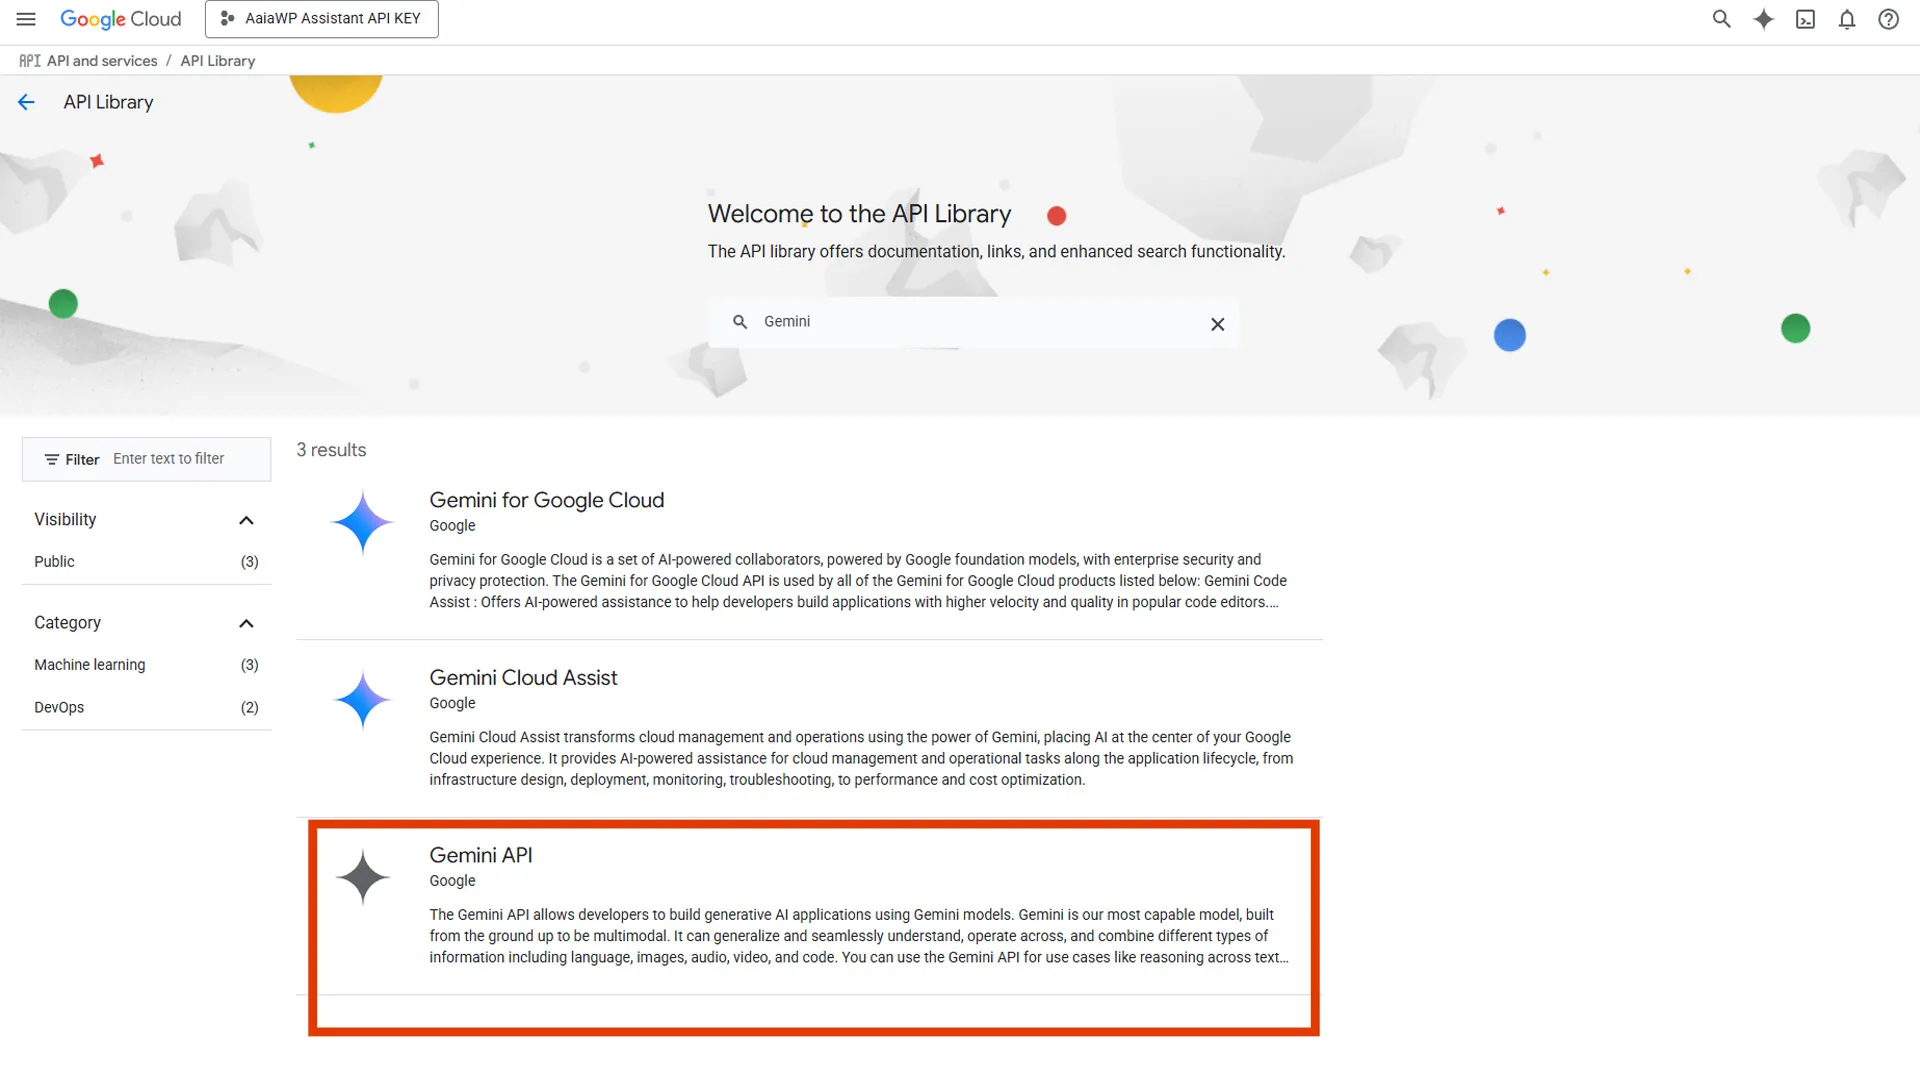
In Google Cloud Console (https://console.cloud.google.com/), navigate to “APIs & Services > Library”
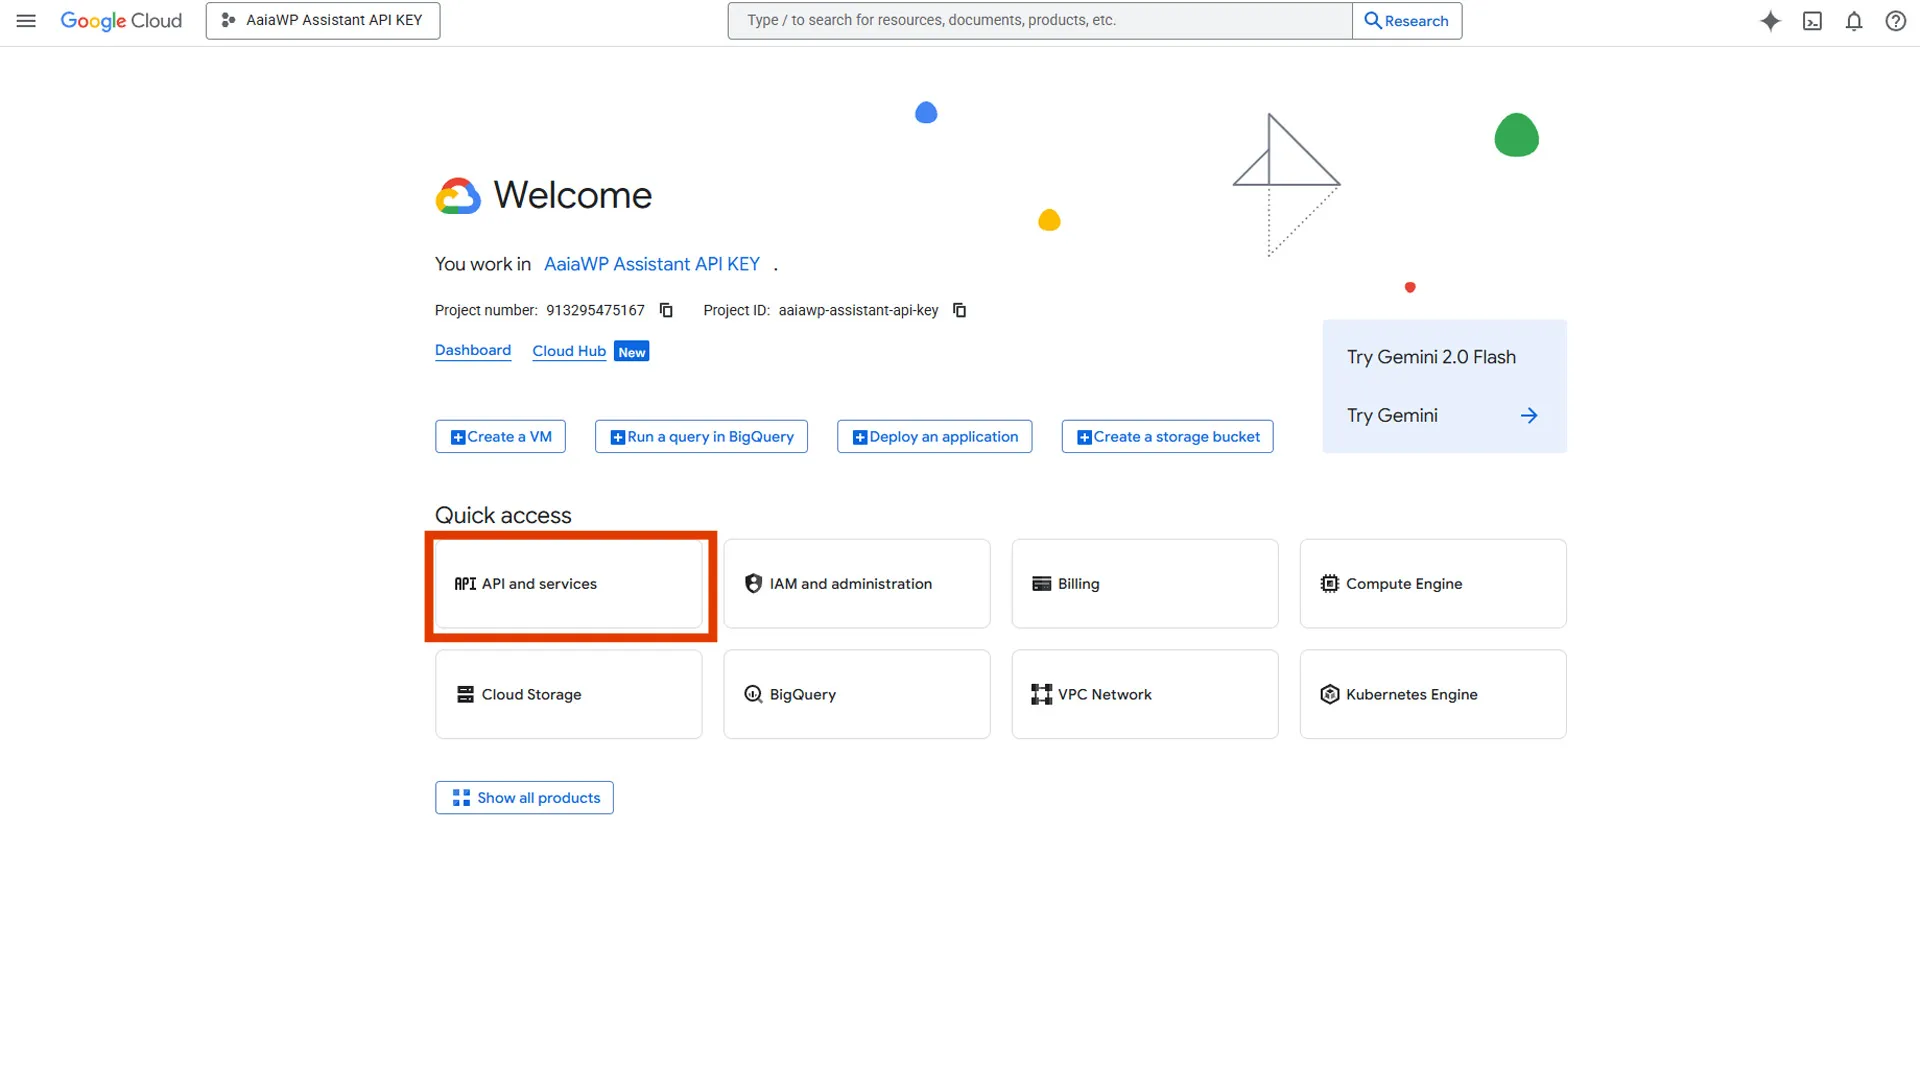
and search for “Gemini API”. Click on the API and press “Enable” to activate it for your project.
This step is crucial as it transitions your API usage from AI Studio’s simplified interface to Google Cloud’s enterprise-grade infrastructure.
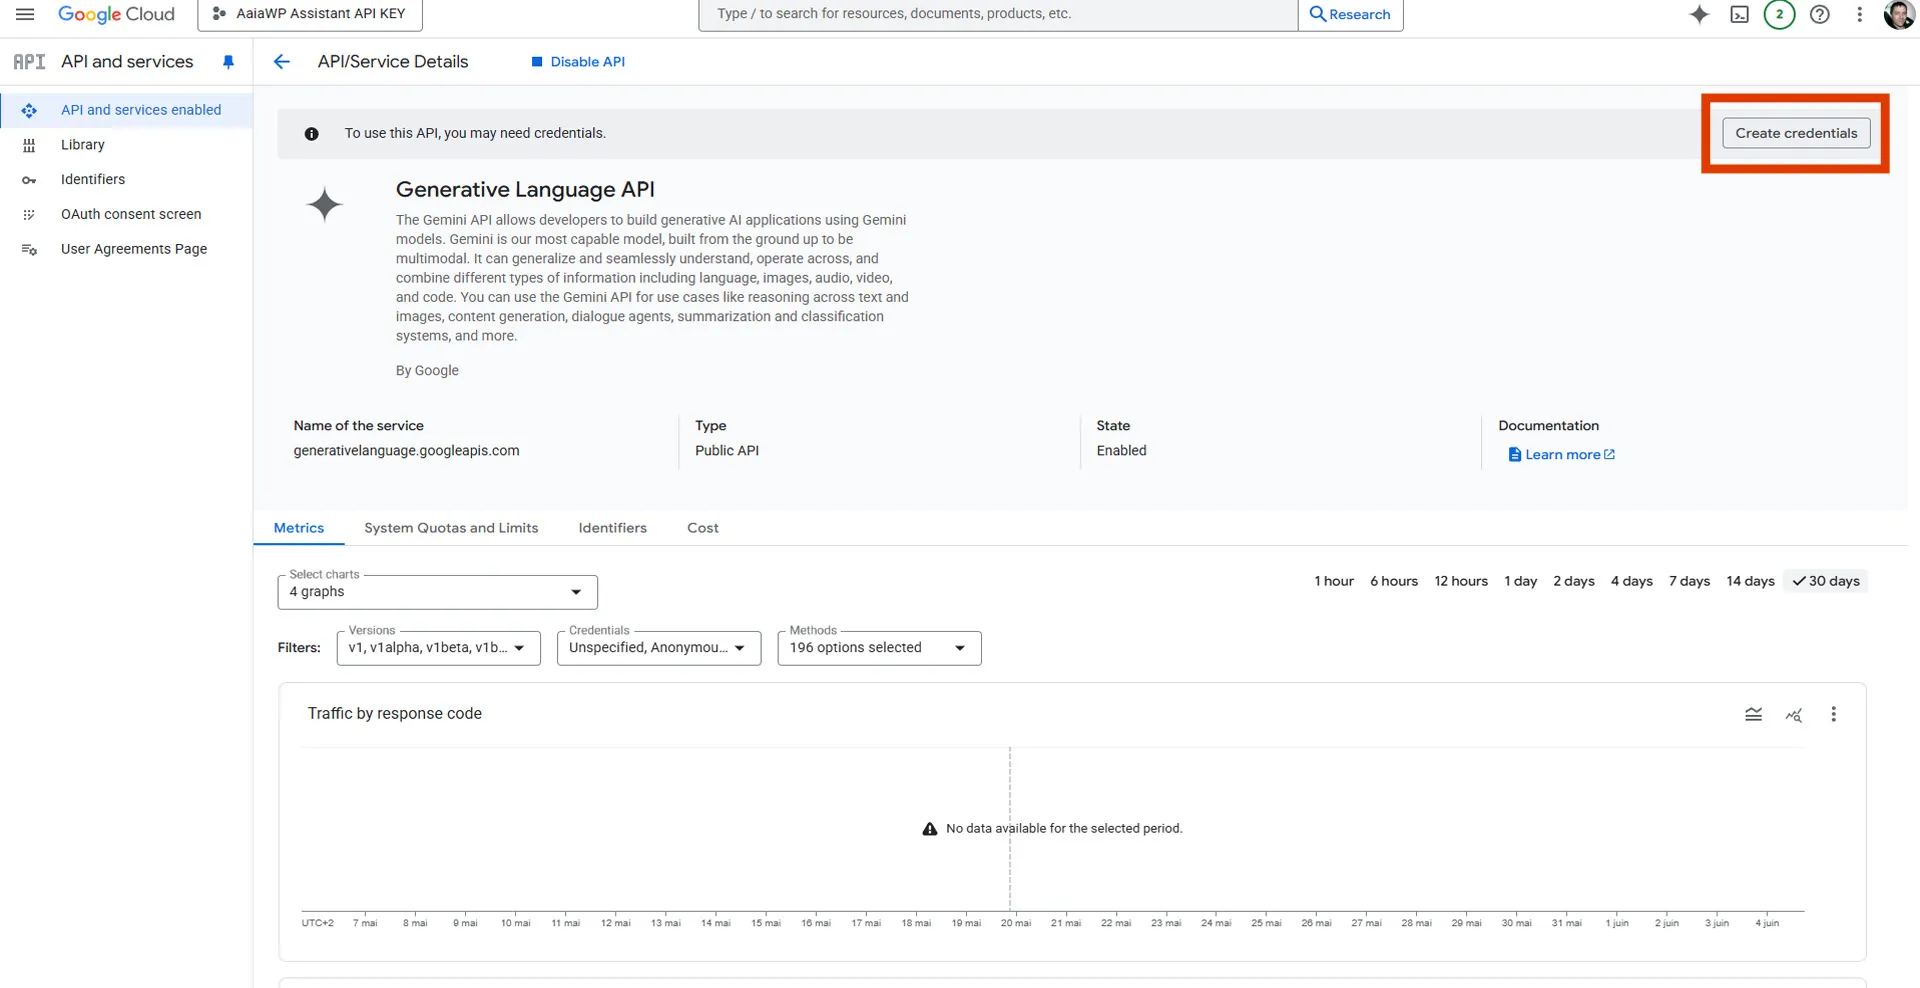
Creating a New API Key
Go to “APIs & Services > Credentials” and click “Create Credentials > API Key.” This generates a new API key specifically for Google Cloud Console usage, which offers enhanced security and monitoring features.
Important: Your original AI Studio API key will continue working, but the new Google Cloud key provides access to advanced features and higher quotas.
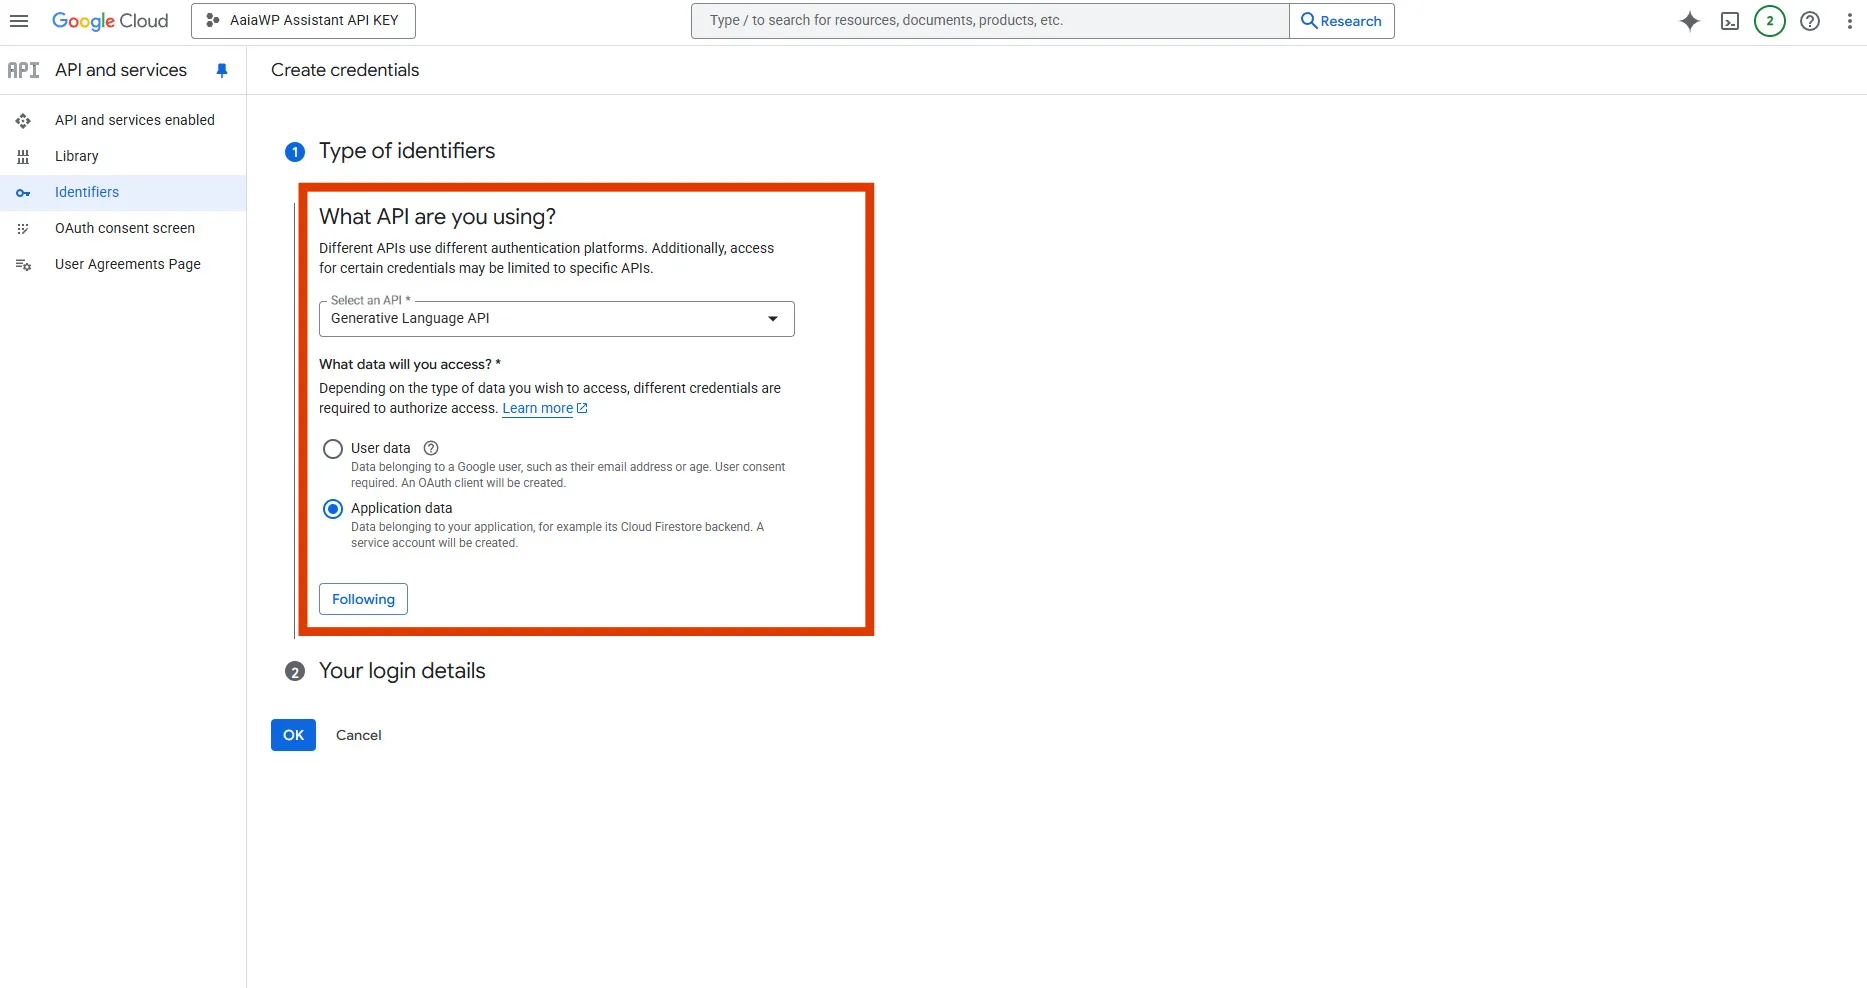
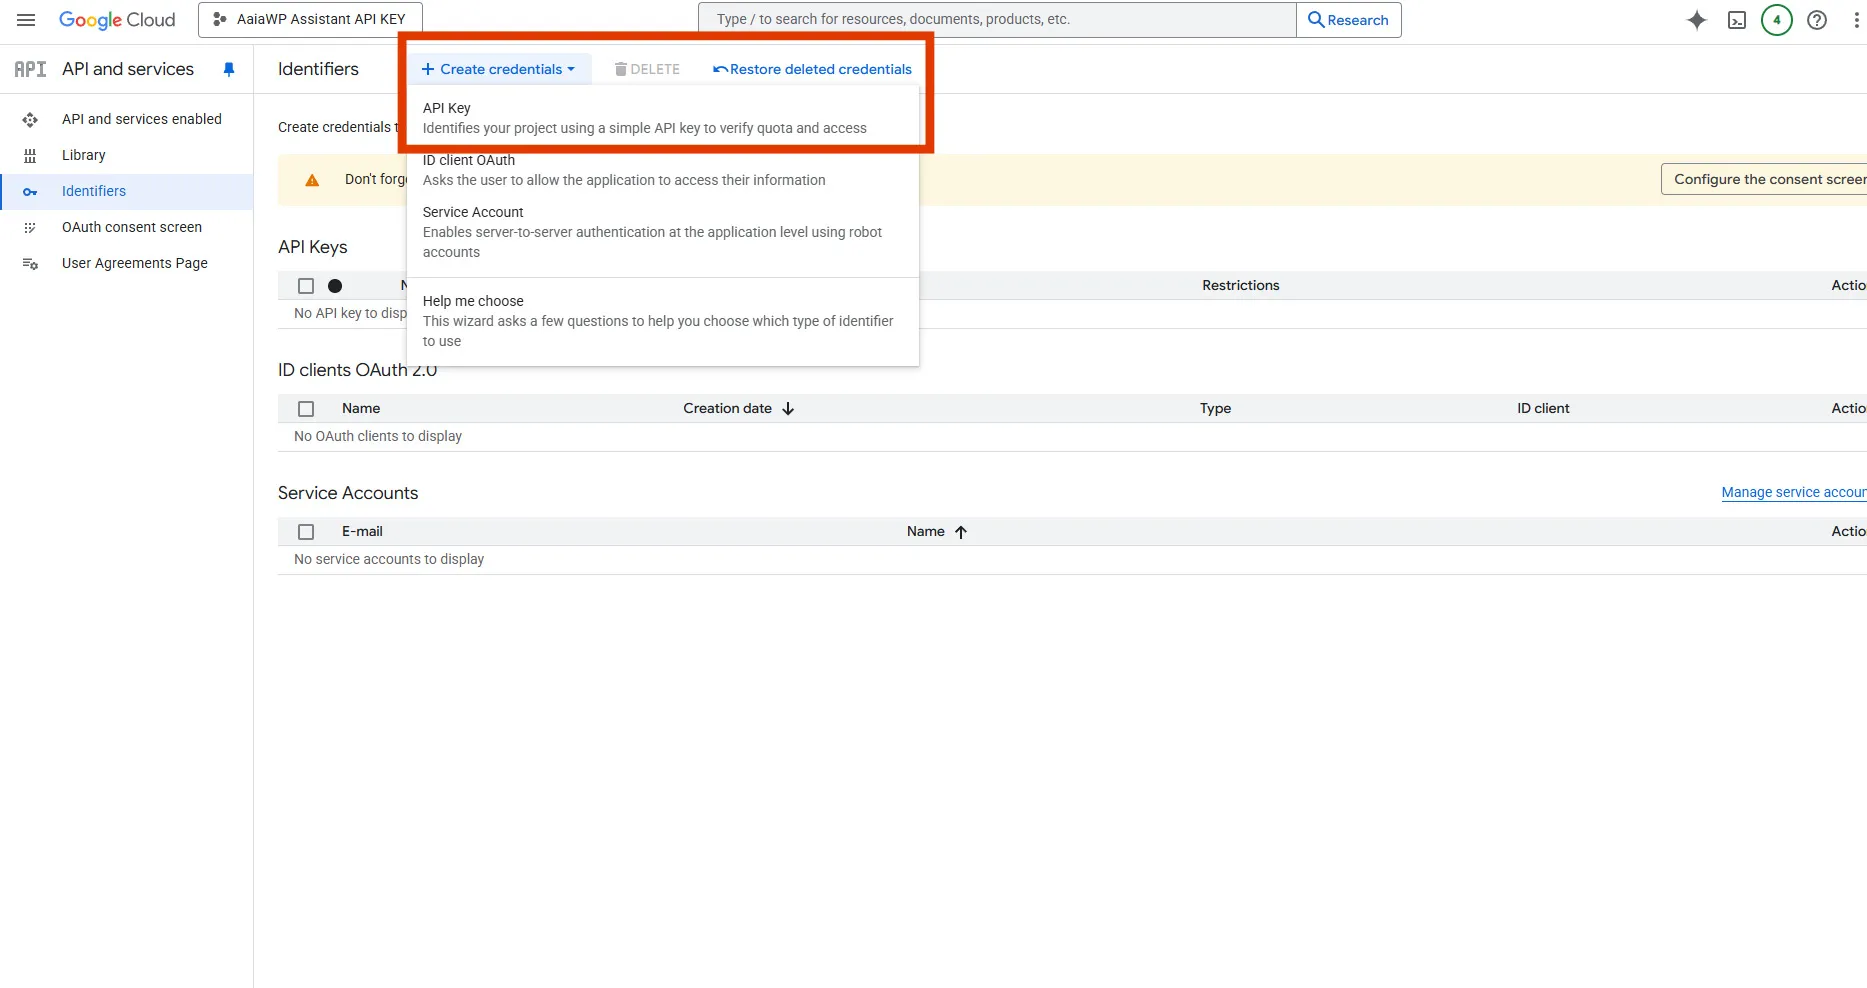
Please click on “Create Credentials” and select “API Key” :
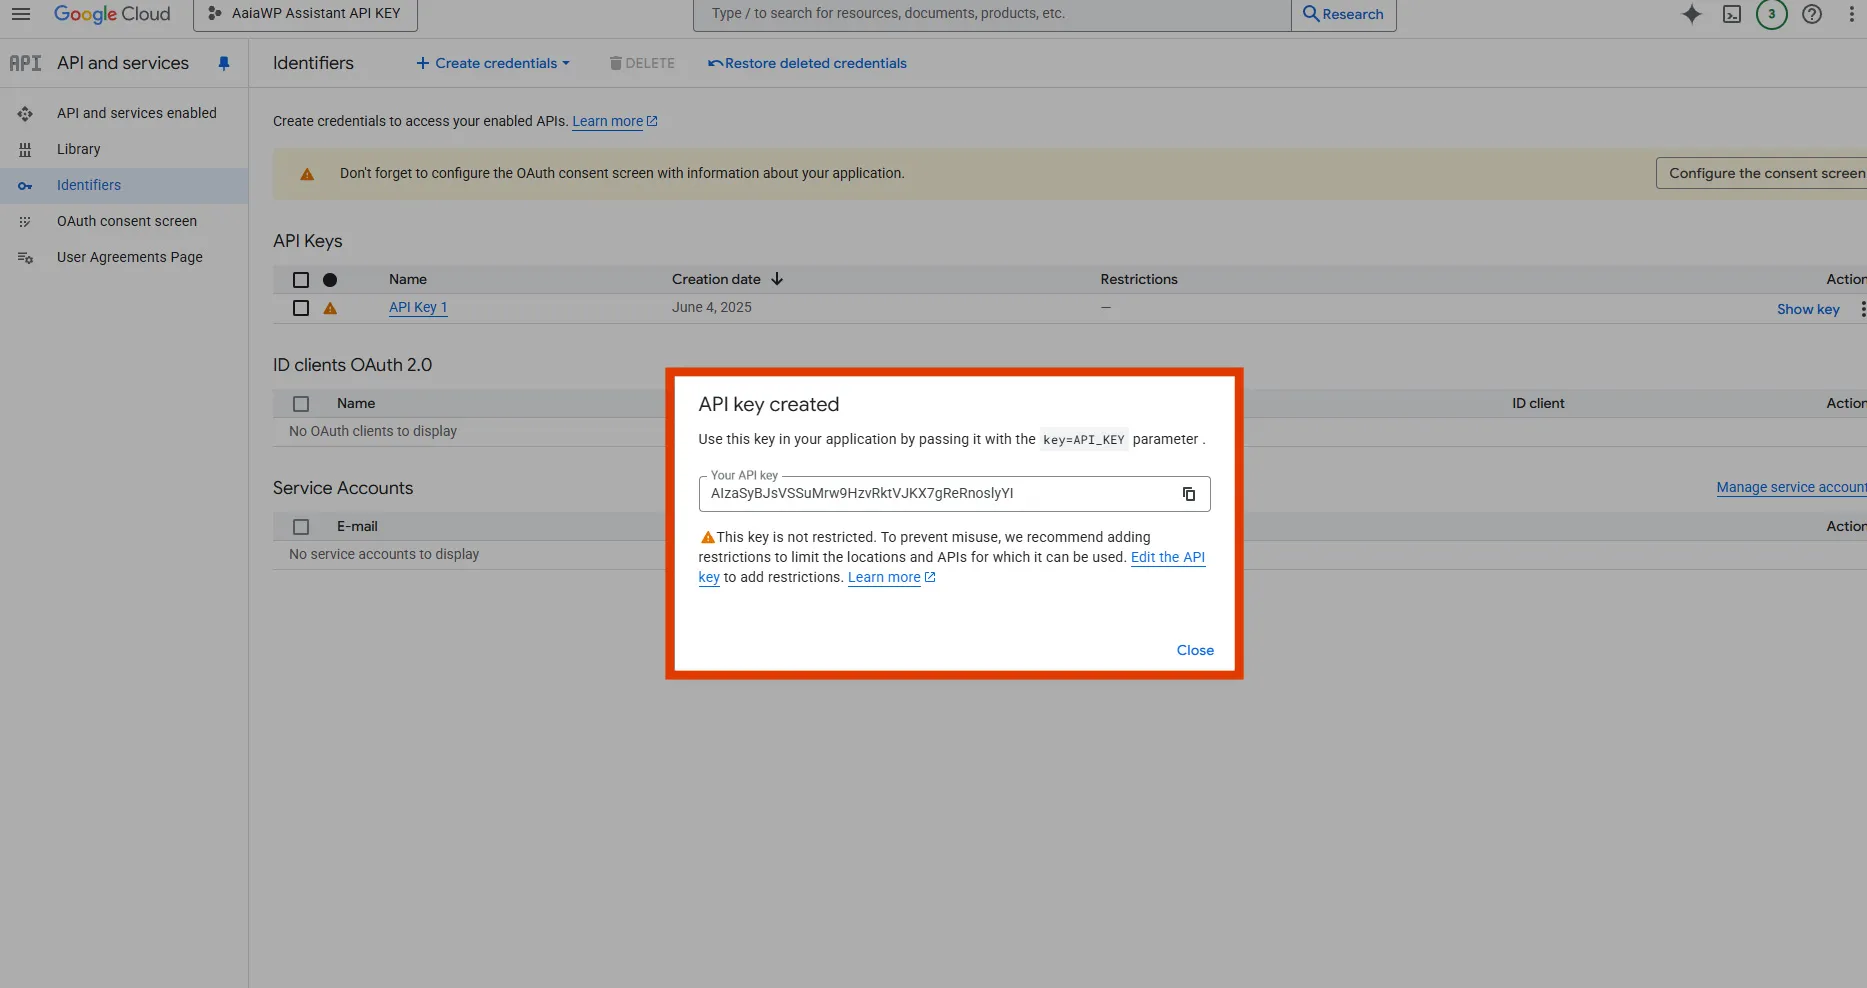
You can now copy your API Key :
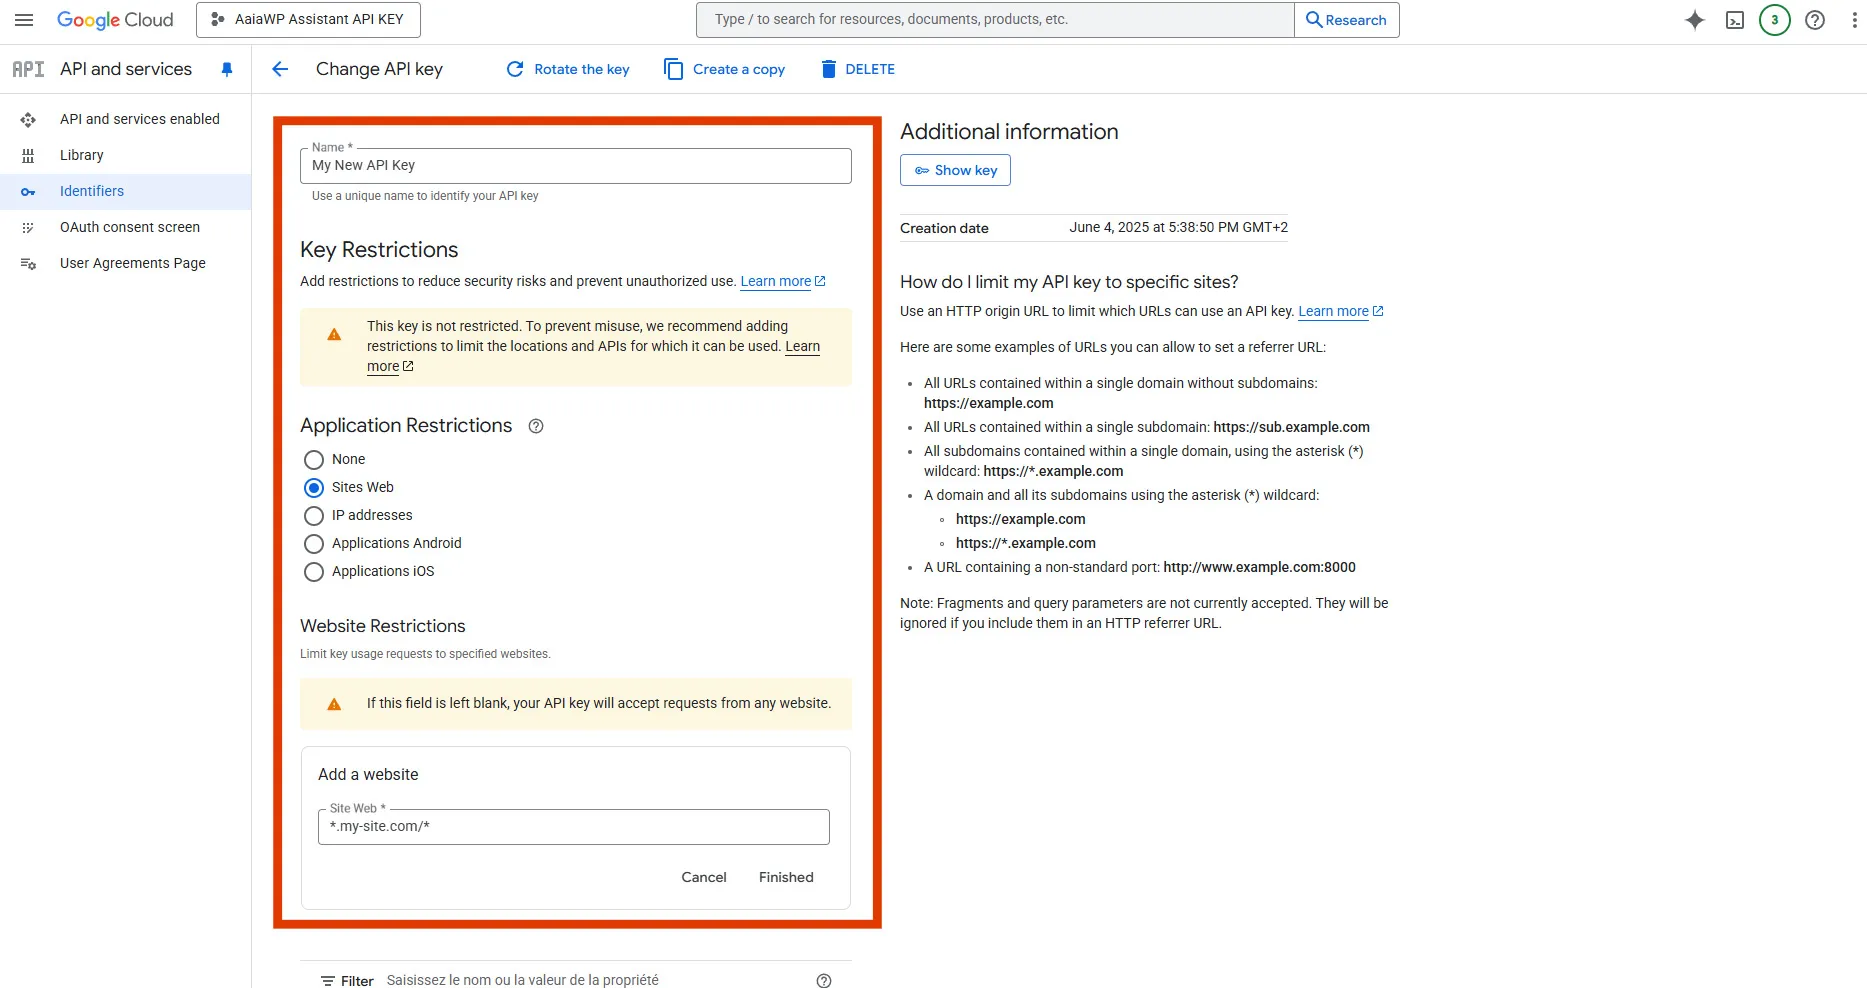
Configuring API Restrictions
For enhanced security, restrict your API key by clicking the “Restrict Key” option. Configure the following restrictions:
- Application restrictions: Limit to specific website addresses
- API restrictions: Restrict to only the Generative Language API
⚙️ Configuring API Key in Aaia-WP
Accessing Plugin Settings
In your WordPress dashboard, navigate to the Aaia-WP menu and click on “API Settings” or “Configuration.” You’ll find the API key configuration section at the top of the settings page.
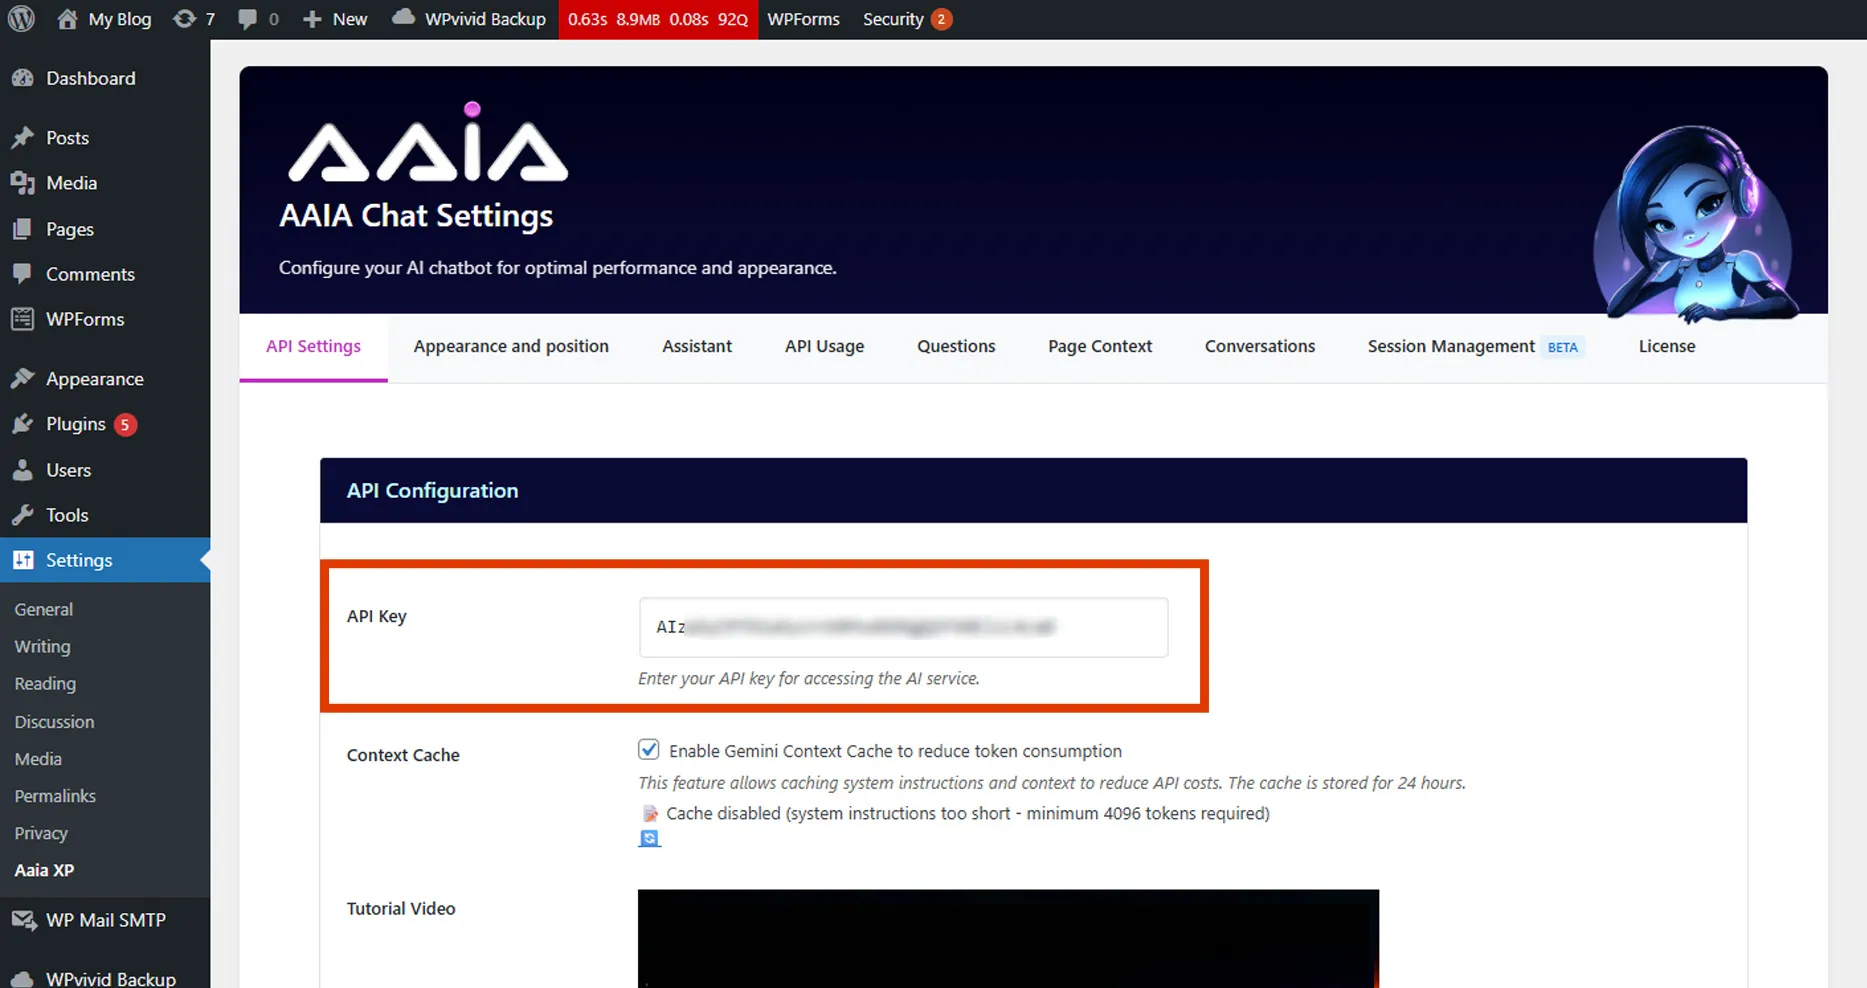
Entering Your Key
Paste your Gemini API key into the designated field. The field should be labeled “Gemini API Key” or similar. After pasting, click “Save Settings” to store your configuration.
Testing the Connection
Most installations include a “Test Connection” button next to the API key field. Click this to verify your key works correctly. You should see a green success message if everything is configured properly.
🔒 Security Best Practices
Keeping Your Key Safe
Treat your API key like a password. Never share it publicly or include it in website code that visitors can see. Store it securely and only use it in server-side applications like Aaia-WP.
📊 Understanding Usage Limits
Free Tier Limits
Google’s free tier provides generous usage limits for most WordPress sites. The free plan includes 15 requests per minute and 1,500 requests per day for Gemini 1.5 Flash, which typically covers small to medium websites comfortably.
Monitoring Usage
Keep track of your API usage through Google AI Studio’s dashboard. If you approach the free tier limits, you can upgrade to a paid plan or optimize your plugin’s usage patterns.
🚨 Troubleshooting
Invalid API Key Error
If you receive an “Invalid API Key” error, double-check that you’ve copied the complete key without extra spaces. Verify the key is active in Google AI Studio and hasn’t been accidentally deleted or restricted.
Connection Timeout
Connection timeouts usually indicate server connectivity issues. Ensure your WordPress hosting allows outbound HTTPS connections to Google’s servers. Contact your hosting provider if problems persist.
Rate Limit Exceeded
If you hit rate limits, your requests will be temporarily blocked. Consider implementing caching in your assistant configuration or upgrading to a paid Google plan if your site has high traffic.
💡 Tips for Optimal Performance
API Key Management
Create separate API keys for different environments (development, staging, production) to maintain better control and security. Label your keys clearly in Google AI Studio for easy identification.
Regular Monitoring
Check your API usage monthly to ensure you’re staying within limits and to understand your site’s AI assistant usage patterns. This helps with planning and optimization.
🚀 What’s Next
With your Gemini API key configured, you’re ready to customize your assistant’s appearance and behavior. Continue to the Appearance and Position guide to make your AI assistant match your website’s design and functionality needs.