
📦 Module Installation
Installing Aaia-WP is straightforward and takes just a few minutes. This guide covers everything you need to get your AI assistant up and running on your WordPress site.
📋 Requirements
Before starting, ensure your WordPress site runs on version 5.6 or higher with PHP 7.4+ and at least 256MB of memory. Your server needs HTTPS enabled and the cURL extension actisssve for API communications. qsdqsd
🛒 Purchase and Download
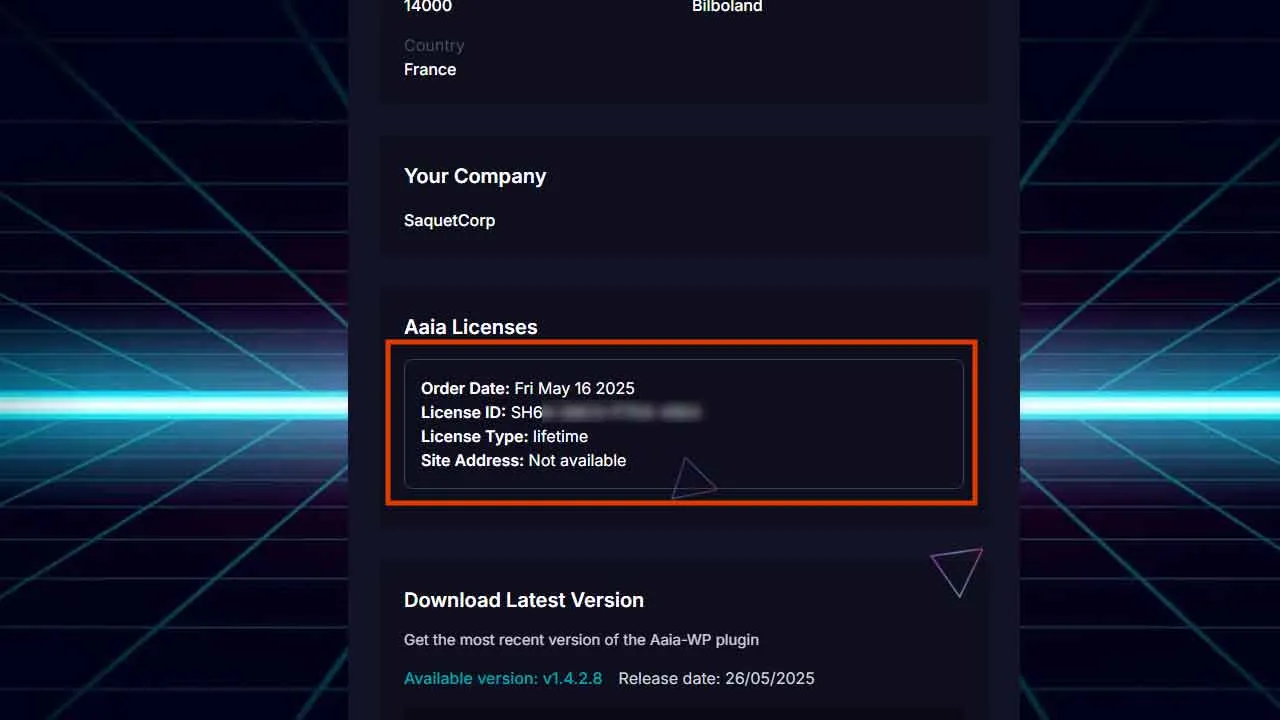
Getting Your License
Visit the Aaia-WP website to purchase your license. After completing the secure Paddle checkout, you’ll receive an email to create your account, download the latest version of Aaia, and get your licence number.
Downloading the Plugin
Download the plugin file from the email link or log into your customer portal to access your files. Save the aaia-wp.zip file to your computer for installation.
📦 Installation Methods
WordPress Dashboard (Recommended)
The easiest installation method uses your WordPress admin area. Navigate to Plugins → Add New, then click “Upload Plugin” at the top of the page. Choose your aaia-wp.zip file and click “Install Now.” Once the upload completes, click “Activate Plugin” to enable Aaia-WP.
FTP Installation
If you prefer FTP installation, extract the zip file on your computer and upload the aaia-wp folder to your /wp-content/plugins/ directory. Then activate the plugin from your WordPress dashboard.
cPanel Method
For cPanel users, access File Manager, navigate to /wp-content/plugins/, upload the zip file, and extract it directly on the server. Remember to activate the plugin afterward.
🔑 License Activation
Activating Your License
After activation, find Aaia-WP in your WordPress menu and click on Settings or License. Enter your license key from your dashboard and click “Activate License.” You should see a confirmation message indicating successful activation.
Troubleshooting Activation
If activation fails, double-check your license key for typos and ensure your server can connect to external APIs. Contact support if issues persist.
⚡ Quick Setup
Setup Wizard
Once licensed, Aaia-WP launches its setup wizard to guide you through the basic configuration. The wizard will prompt you for essential settings to get your assistant operational quickly.
✅ Verification
Testing Your Installation
Test your installation by visiting your website frontend to confirm the plugin is working. The basic installation is complete when you can see the Aaia-WP menu in your WordPress dashboard and the plugin shows as active in your plugins list.
If you haven’t entered your Google Gemini API key yet, it’s completly normal that the chatbot cannot answer.
🚨 Troubleshooting
Common Installation Issues
If the plugin won’t activate, check your PHP version and memory limits. License activation issues usually stem from incorrect keys or server connectivity problems. For API connection troubles, verify your credentials.
Display Problems
When the chat widget doesn’t appear, look for JavaScript conflicts in your browser console and clear all caches. Most display issues resolve after clearing page cache, object cache, and any CDN caches.
💬 Getting Help
Support Options
For installation support, email support@aaia-wp.com or use the live chat on our website (Aaia can guide you through basic troubleshooting). The customer portal contains additional resources, and our Discord community offers peer support. Check the FAQ section for quick answers to common questions.
🚀 What’s Next
Next Steps
With Aaia-WP successfully installed, you’re ready to configure your AI assistant. Start with the API Key guide to connect your AI provider, then explore Appearance and Position to customize the look and feel of your assistant.